How to grow your Windows partition
If you have a disk that has more capacity as shown, this guide will show you how to resize the partition using either PowerShell or the graphical user interface (GUI).
Disk resizing with GUI
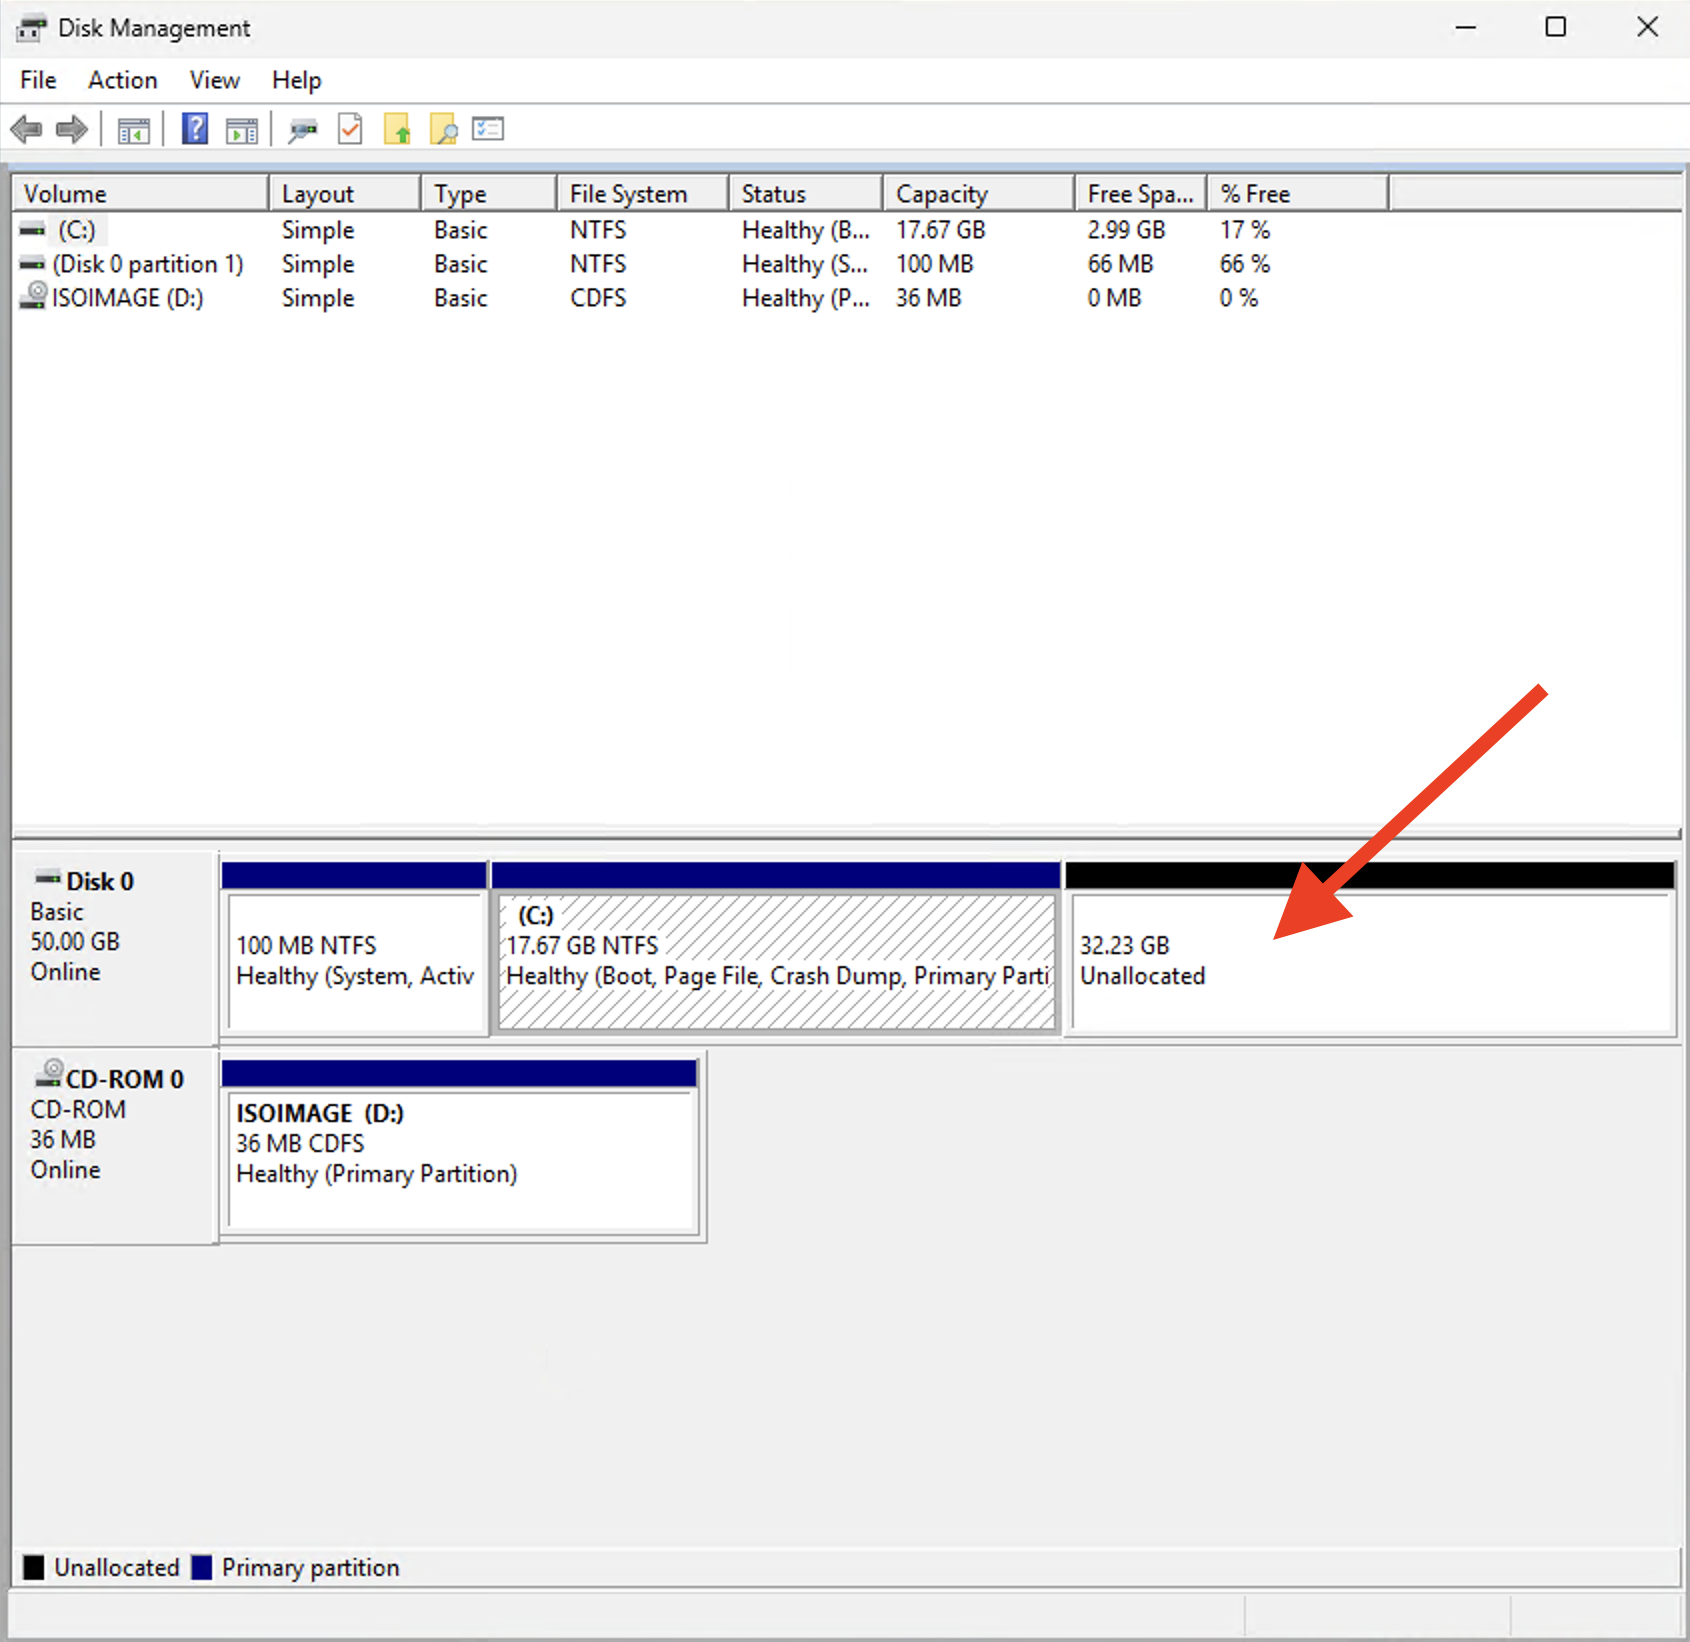
To resize using the graphical user interface (GUI), open the search bar and open Disk Management.
You can easily identify which disk isn't using its full capacity by looking for an unallocated partition next to it.
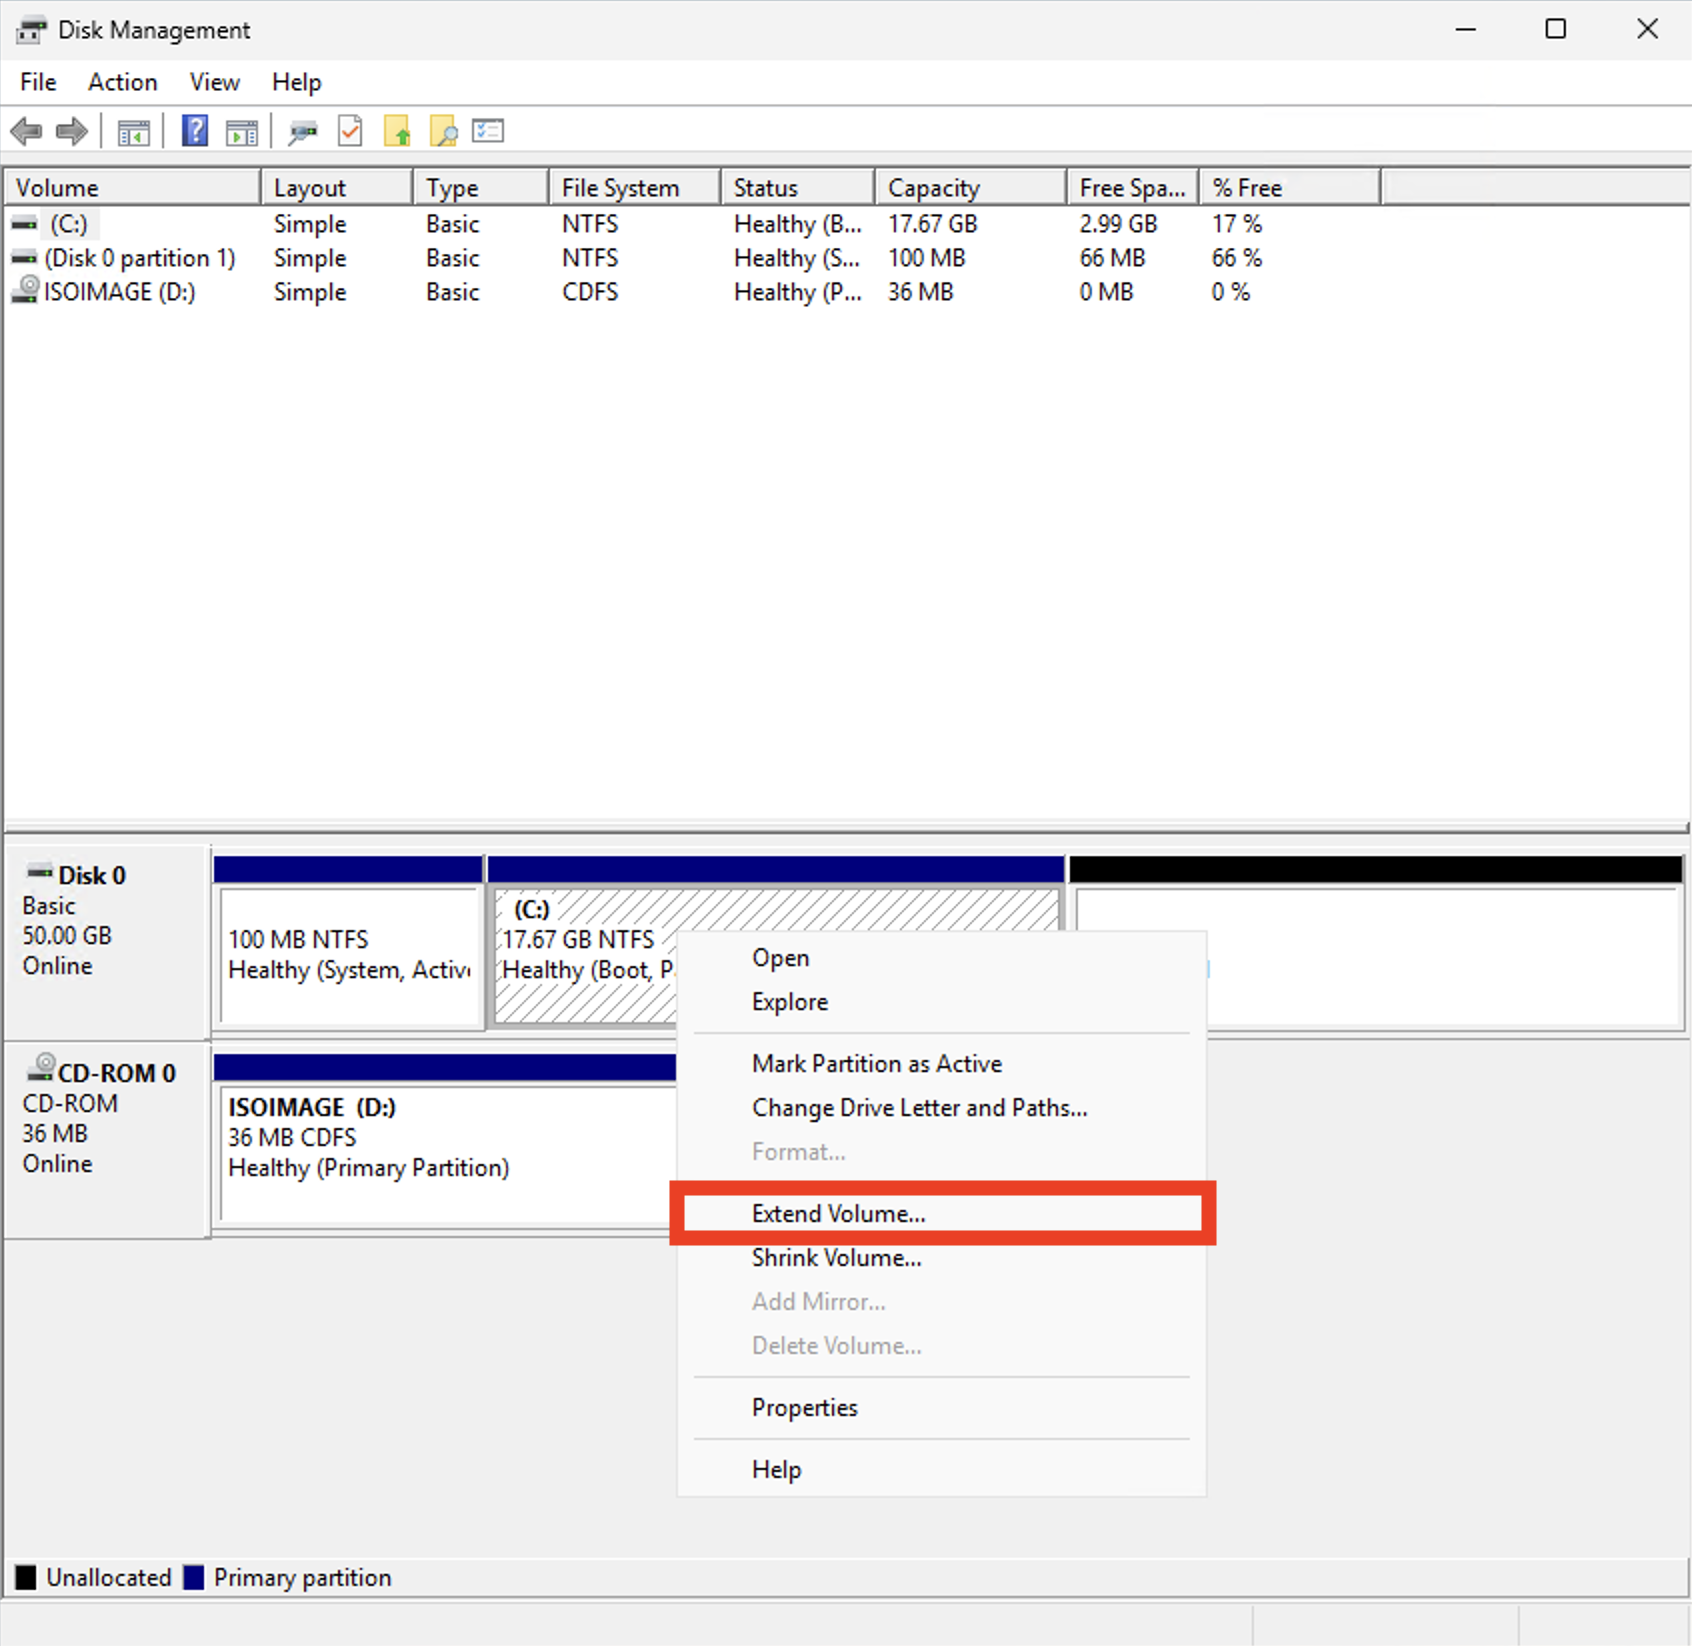
To resize the disk, right-click on the partition next to the unallocated partition and select Extend.
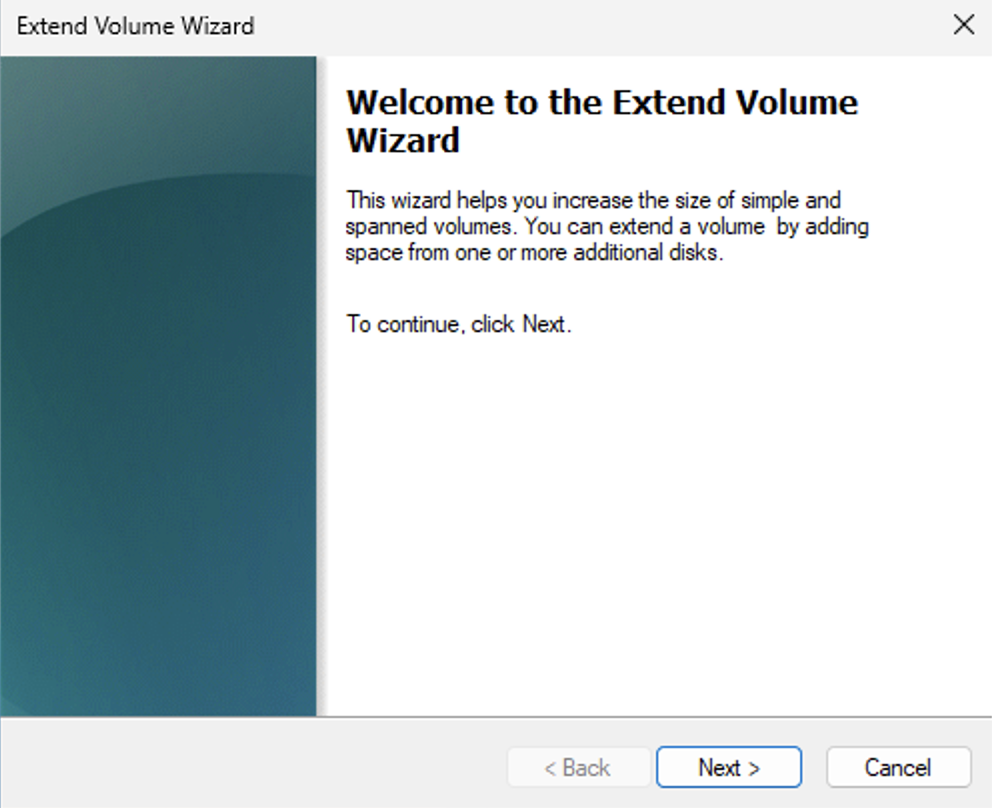
A new window, the "Extend Volume Wizard," will open. In the first step, simply click "Next."
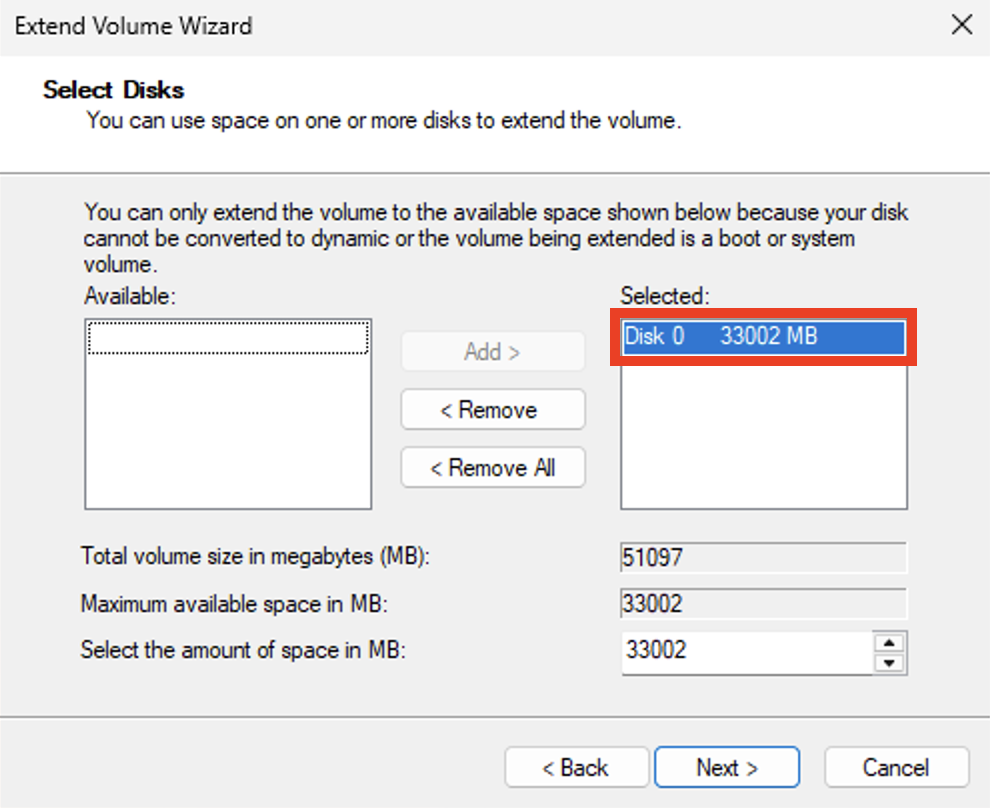
Then select the unallocated space you want to add to the partition (it was preselected by default in my case). After selecting the disk, click Next.
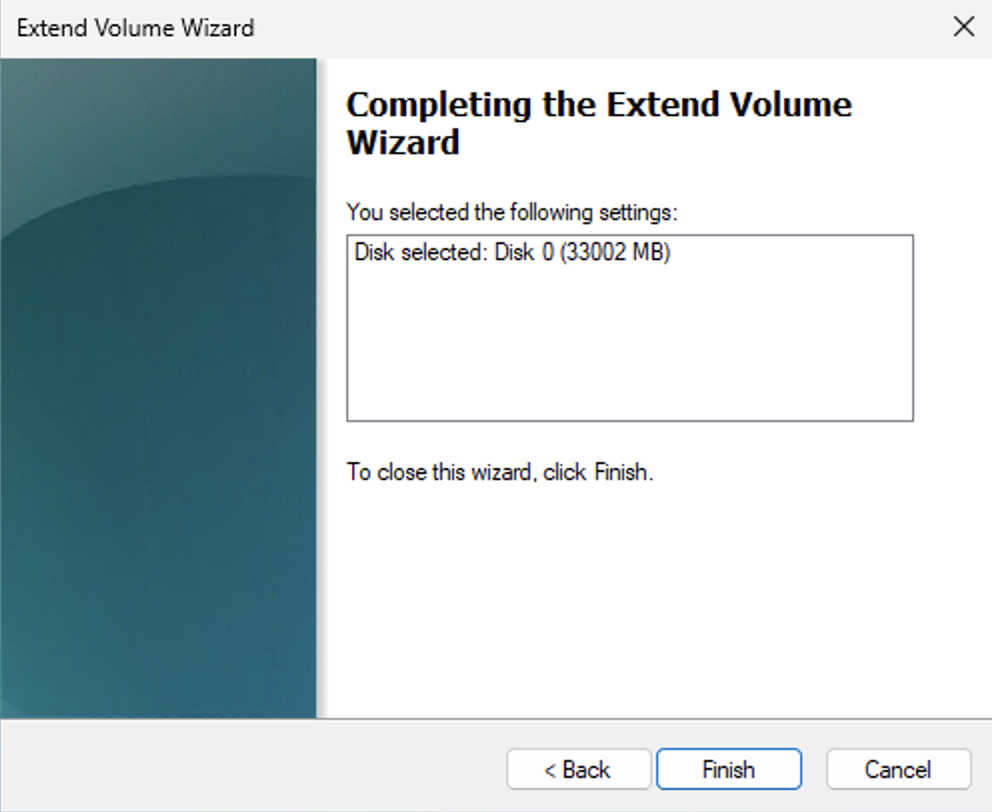
For the final step, simply click "Finish," and you're all set!
Disk resizing with PowerShell
The code below first lists all partitions on Disk 0 and identifies the number of the last partition, then it determines the maximum supported size for that partition and finally it expands the last partition to its maximum capacity.
$LastPartition = Get-Partition -DiskNumber 0 | Select-Object -Last 1
$Size = Get-PartitionSupportedSize -DiskNumber 0 -PartitionNumber $LastPartition.PartitionNumber
Resize-Partition -DiskNumber 0 -PartitionNumber $LastPartition.PartitionNumber -Size $Size.SizeMax